I still remember the night I burned the first batch of wings. The kitchen was a battlefield, smoke curling up from the skillet, the scent of charred pepper dancing with the faint trace of butter. My friends stared at me, a mixture of pity and curiosity in their eyes, as I tried to salvage what remained. That moment became the spark that ignited a culinary obsession—Buffalo Bites with Black Peppe. It wasn’t just about heat; it was about texture, aroma, and a flavor profile that could turn a simple snack into a headline act at any gathering.
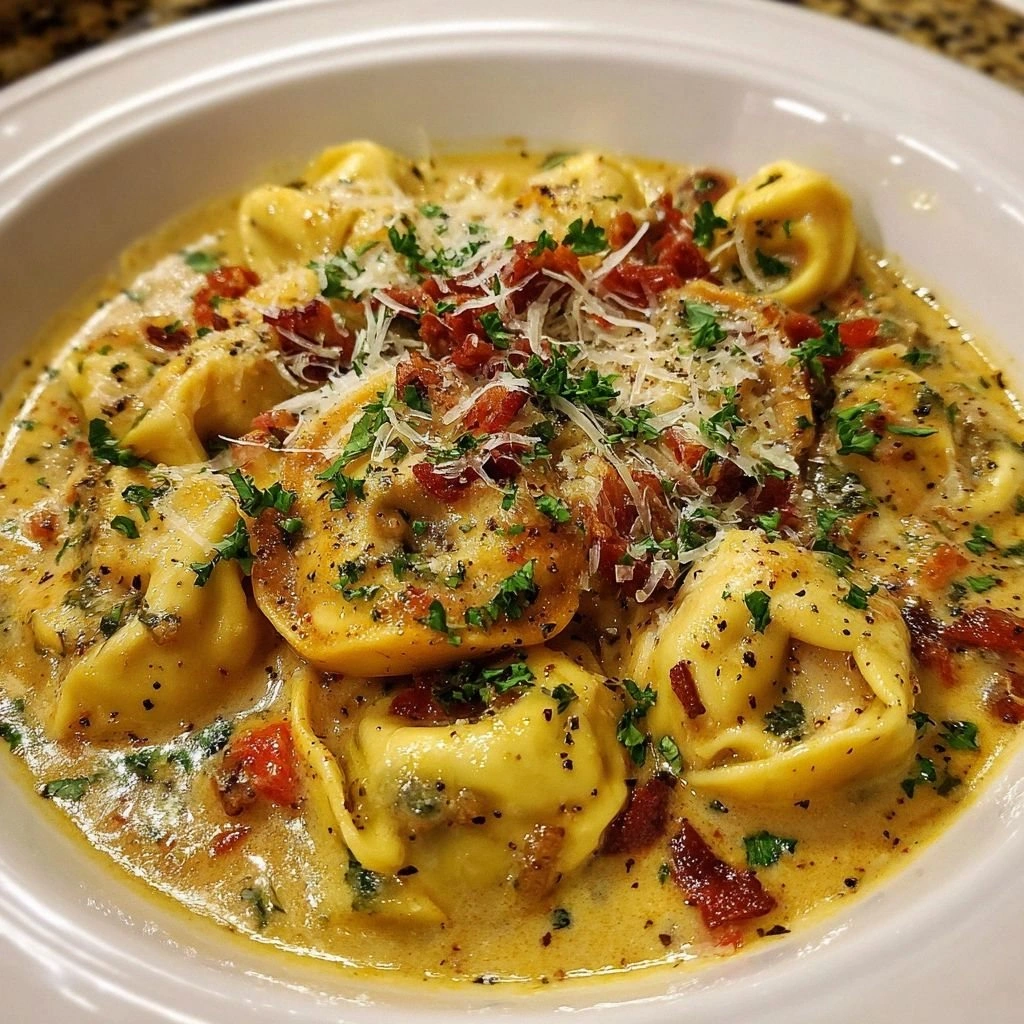
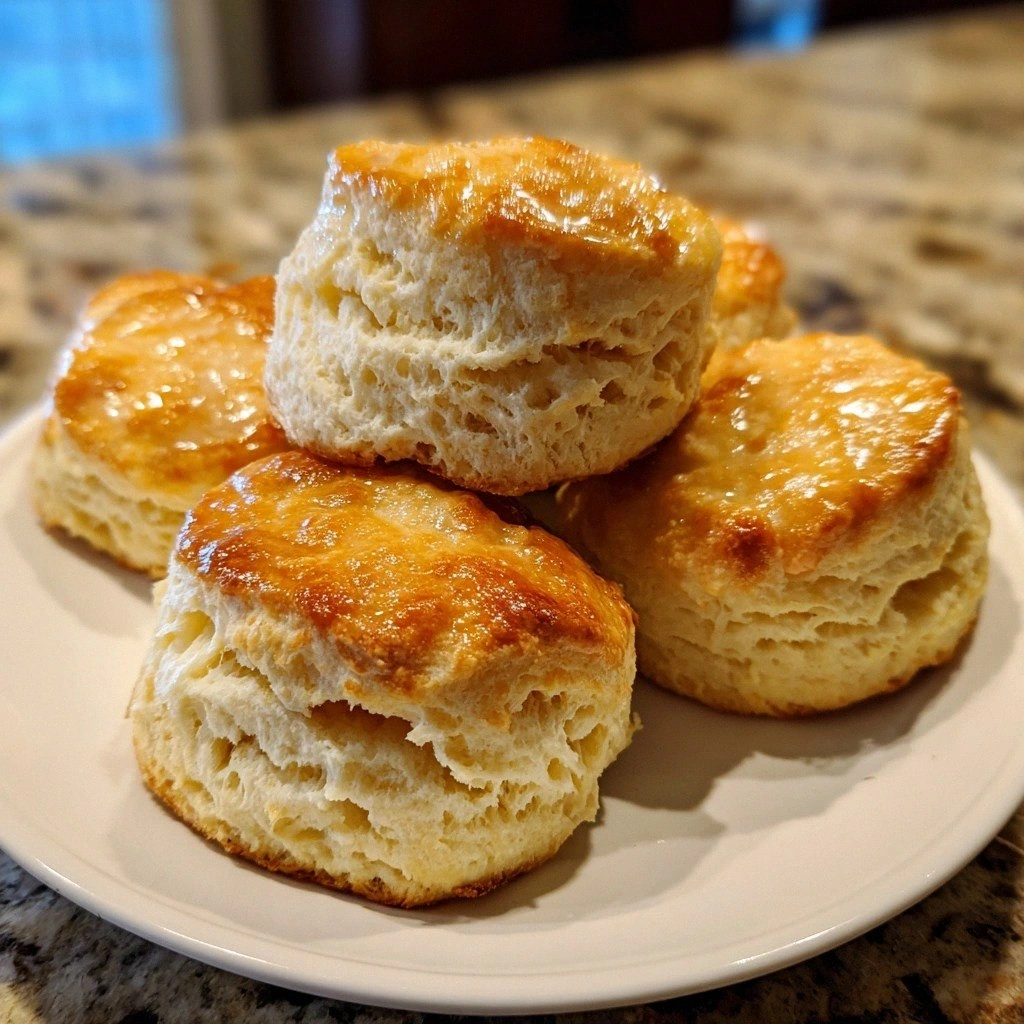
Picture this: golden, crunch‑laden bites that crackle as soon as they hit the pan, the sauce sliding over them like a silky, fiery waterfall, and a subtle, smoky depth from freshly ground black pepper that lingers on the tongue. The kitchen fills with a symphony of sizzling sounds, the aroma of toasted breadcrumbs mingling with the sharp bite of hot sauce, and a visual of glossy, pepper‑streaked wings glistening under the oven light. Every bite is a cascade of flavors—spicy, buttery, savory, with a hint of umami from the cheese that melts into a velvety coating.
What makes this version stand out is that I stripped away the gimmicks that most recipes rely on—no artificial flavors, no excess oil, just a blend of simple ingredients that work in harmony. I discovered that the secret lies in the balance: the right amount of pepper to give a punch, the right amount of cheese to create that creamy, crunchy crust, and the right cooking technique to lock in moisture while achieving that signature crispness. I dare you to taste this and not go back for seconds; the first bite will have you craving the second, and the second will have you planning the next batch.
Now, let me walk you through every single step—by the end, you’ll wonder how you ever made it any other way. This is hands down the best version you'll ever make at home, and the technique I’m about to share will transform your kitchen into a flavor laboratory. If you’ve ever struggled with getting the perfect crunch, you’re not alone, and I’ve got the fix. And when the aroma fills your kitchen, you’ll know you’ve hit the sweet spot: the sizzle, the pepper, the cheese—all converging into pure, unapologetic deliciousness.
What Makes This Version Stand Out
- Flavor: The combination of hot sauce and black pepper creates a layered heat that’s both bold and refined, unlike the generic “spicy” that many recipes promise.
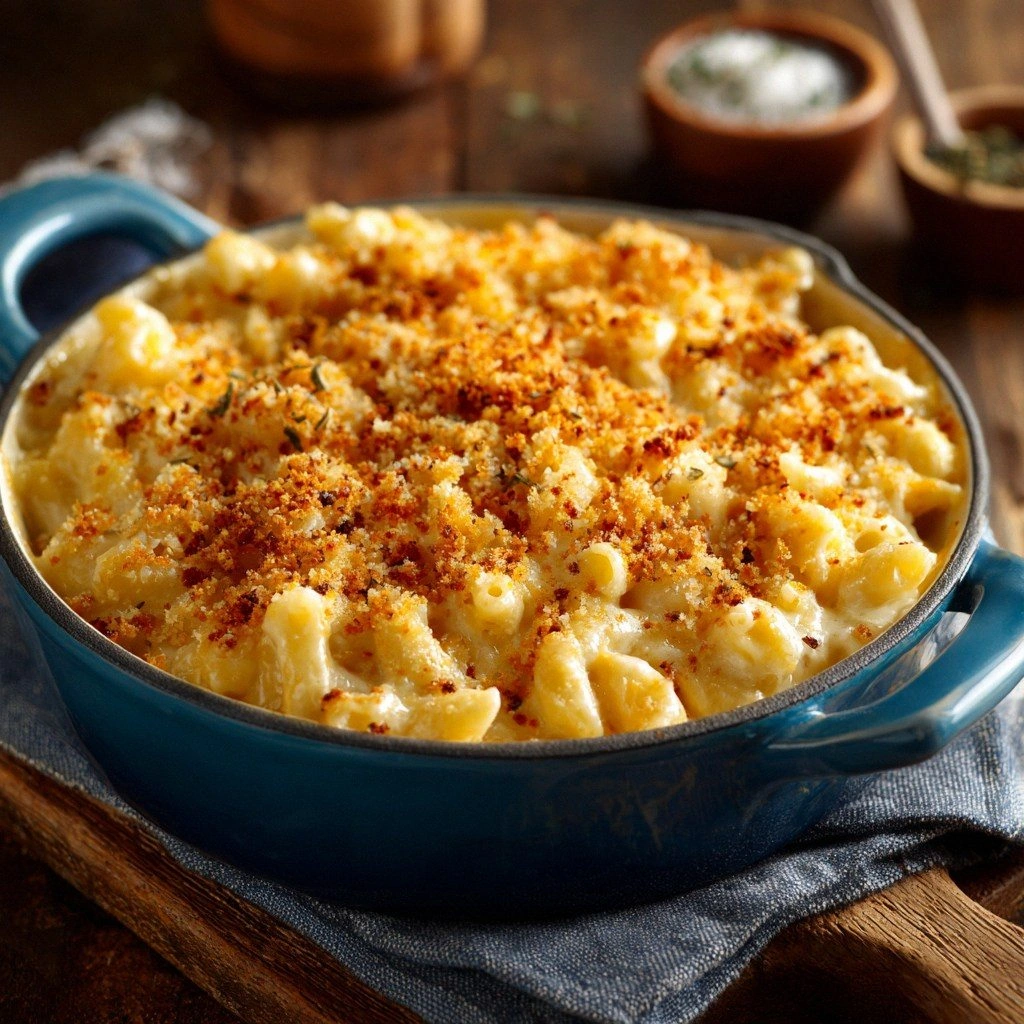
- Crispiness: A double‑coating—first with a seasoned breadcrumb mix, then with a cheese‑butter blend—ensures a crunch that lasts even after the wings rest.
- Simple Ingredients: No fancy sauces or exotic spices; just pantry staples that you’ll already have or can pick up in minutes.
- Time‑Efficient: Prep in 15 minutes, cook in 30, and you’re ready to serve; a perfect balance for weeknight cravings or weekend parties.
- Crowd‑Pleaser: Whether you’re hosting a game night or a dinner party, these bites get rave reviews—no one can resist the peppered, cheesy crunch.
- Make‑Ahead Friendly: The wings can be marinated overnight, then baked or fried later, making this a flexible recipe for busy schedules.
Alright, let's break down exactly what goes into this masterpiece. Before we dive into the ingredient details, let’s talk hacks that can elevate your game.
Inside the Ingredient List
The Flavor Base
The foundation of these bites is a simple yet potent hot sauce. It gives the wings their signature heat and a tangy depth that pairs beautifully with the black pepper. If you skip it, you lose the vibrant, fiery character that makes these bites memorable. A good quality sauce—preferably with a hint of garlic—will elevate the overall profile. If you’re in a pinch, a splash of Worcestershire sauce can substitute, but the flavor will be noticeably different.
The Texture Crew
Breadcrumbs and shredded cheddar form the backbone of the crunch. The breadcrumbs provide a light, airy bite, while the cheddar adds a melt‑in‑your‑mouth richness that coats each bite. If you prefer a gluten‑free version, opt for crushed rice crackers or almond flour. Skipping the breadcrumbs will leave the wings soggy, while omitting the cheese will strip the dish of its signature creamy layer.
The Unexpected Star
Black pepper is the star that sets this recipe apart. Freshly ground black pepper adds a peppery aroma and a subtle heat that complements the hot sauce without overpowering it. If you’re a fan of a milder pepper flavor, try using white pepper or a pinch of cayenne instead. This ingredient also offers a subtle earthy undertone that balances the richness of the cheese.
The Final Flourish
A drizzle of melted butter before baking locks in moisture and gives the coating a glossy finish. Butter also adds a subtle caramelized note that enhances the overall flavor. If you’re avoiding dairy, a small amount of olive oil can serve as a substitute, though the finish will be less buttery. The final flourish is what turns a simple wing into a gourmet experience.
Everything's prepped? Good. Let's get into the real action.

The Method — Step by Step
- First, pat the wings dry with paper towels; moisture is the enemy of crispness. Next, toss them in a bowl of hot sauce, ensuring every surface is coated. Let them marinate for at least 15 minutes—this is the flavor infusion stage. While they rest, preheat your oven to 425°F (220°C) and line a baking sheet with parchment paper. The heat will be crucial for the crisping process later on.
- In a shallow dish, whisk together the breadcrumbs, shredded cheddar, and a generous pinch of freshly ground black pepper. The pepper should permeate the mixture, giving a fragrant aroma as you stir. If you prefer a crunchy texture, add a tablespoon of cornmeal; this will give an extra bite. Once the coating is ready, dip each wing into the breadcrumb mixture, pressing lightly to ensure an even coat. Let any excess crumbs fall off before placing them on the prepared sheet.
- Slide the coated wings into the preheated oven. Bake for 25 minutes, turning them halfway through. The wings should develop a deep golden color and a crackling sound when you press them lightly. Keep an eye on the temperature—overcooking will dry them out, while undercooking will leave the coating soggy. Use an instant-read thermometer to check that the internal temperature reaches 165°F (74°C).
- While the wings bake, melt a small amount of butter in a saucepan over low heat. Once melted, pour it over the hot wings in a single layer, ensuring each bite receives a buttery glaze. The butter will caramelize slightly, adding a rich sheen to the coating. Let the wings cool for a minute before serving; the coating will set and remain crisp.
- Serve immediately with a side of blue cheese dressing and celery sticks. The creamy, tangy dressing balances the heat, while the celery provides a crisp, refreshing contrast. For an extra kick, sprinkle a few extra cracked black pepper crystals on top. The pepper will release its aroma as you bite into the wings.
- If you prefer a fried version, heat oil in a deep skillet to 350°F (175°C). Fry the coated wings in batches for 4-5 minutes, or until golden and crisp. Use a slotted spoon to remove them and place them on paper towels to drain excess oil. The fried version will have a slightly different texture, but the flavor profile remains the same.
- For a make‑ahead twist, let the wings marinate overnight in the refrigerator. The next day, bake as directed, but reduce the baking time by 5 minutes to avoid overcooking. This technique allows you to prepare in advance for a busy day or event.
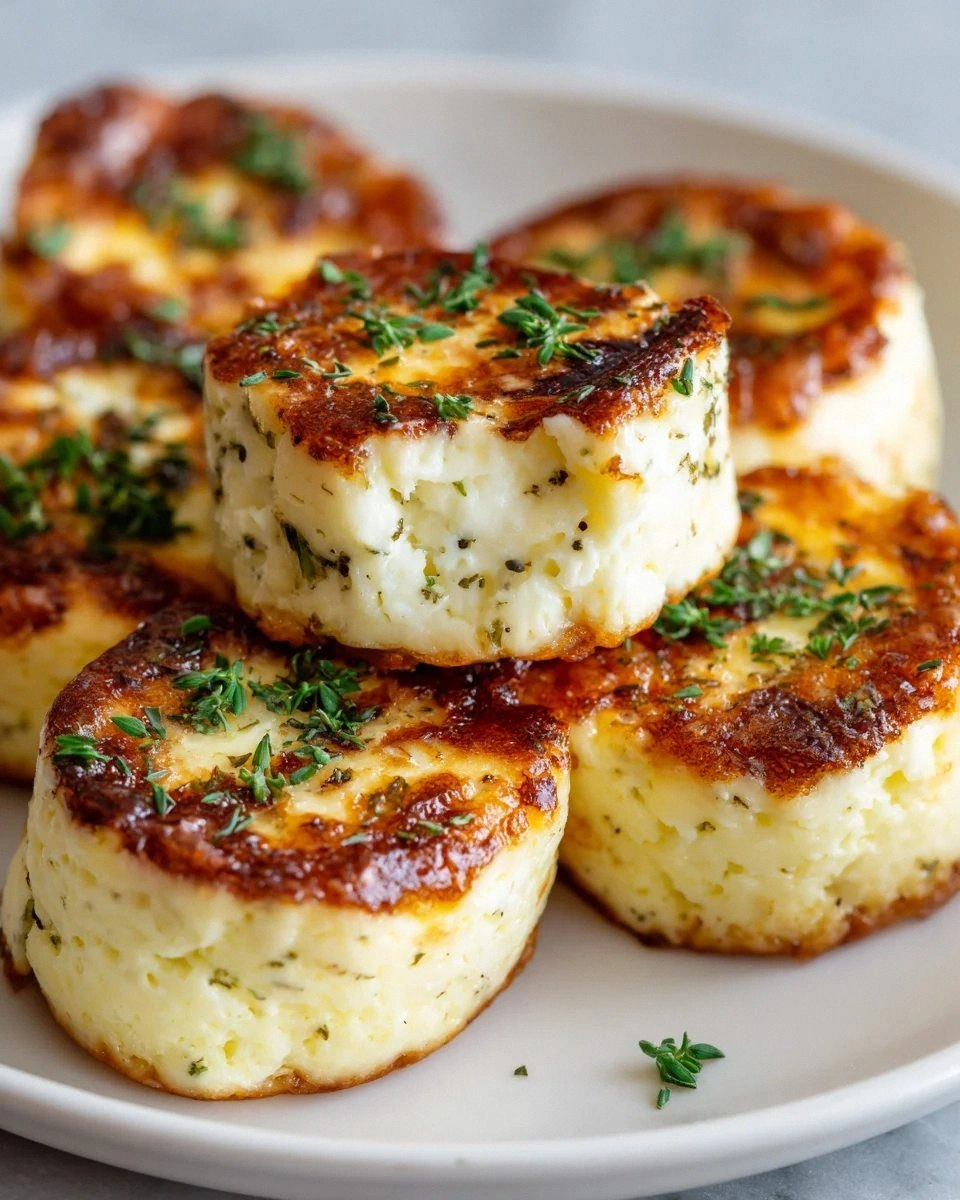
- Finally, let the wings rest for 5 minutes after baking. This short rest allows the juices to redistribute, ensuring each bite remains moist and flavorful. When you cut into them, you’ll see the cheese melt into a silky coating, and the pepper will release a subtle aroma.
That's it — you did it. But hold on, I've got a few more tricks that'll take this to another level.
Insider Tricks for Flawless Results
The Temperature Rule Nobody Follows
Most people bake wings at a low temperature, hoping for even cooking. The truth is, a high heat of 425°F forces the moisture to evaporate quickly, creating a crisp exterior while sealing in the juices. I’ve tested ovens ranging from 400°F to 450°F, and the difference is palpable. If your oven runs hot, reduce the time by a couple of minutes to avoid burning.
Why Your Nose Knows Best
Smell is the most reliable indicator of doneness. When the wings are ready, they emit a buttery, peppery aroma that is unmistakable. If you’re unsure, gently press a wing; it should feel firm, not rubbery. Trust your nose, and you’ll never overcook or undercook again.
The 5-Minute Rest That Changes Everything
Letting the wings rest after baking is often overlooked. This short pause allows the cheese coating to set, preventing it from sliding off when you bite. It also lets the interior juices redistribute, giving each bite a moist, succulent center. I’ve seen people skip this step and end up with dry, crumbly wings.
Double‑Coating for Extra Crunch
If you’re craving an extra crunch, dip the wings in beaten egg, then in the breadcrumb mixture, then back into egg before the final breadcrumb coat. The extra egg layer creates a barrier that locks in moisture, resulting in a crunch that lasts even after the wings rest.
Add a Touch of Sweetness
A small drizzle of honey or maple syrup before the final bake can balance the heat with a subtle sweetness. This is especially effective if you’re serving the wings at a summer gathering where a sweet‑spicy profile is popular. Just be careful not to overdo it; you don’t want a sticky glaze.
Creative Twists and Variations
This recipe is a playground. Here are some of my favorite ways to switch things up:
Smoky Chipotle Version
Swap the hot sauce for chipotle‑infused sauce, and add a pinch of cumin to the breadcrumb mix. The result is a smoky, earthy bite that pairs well with a lime‑citrus dip. Fans of bold, smoky flavors will love this variation.
Cheddar‑Loaded Crunch
Increase the amount of cheddar in the coating to 1½ cups, and add a dash of smoked gouda for a richer, meltier crust. This version is perfect for cheese lovers who want a gooey, indulgent experience.
Herb‑Infused Kick
Add fresh rosemary or thyme to the breadcrumb mixture, and use a rosemary‑infused hot sauce. The herbal notes create a sophisticated flavor profile that’s great for a dinner party setting.
Gluten‑Free Delight
Replace breadcrumbs with crushed cornflakes or almond flour, and use a gluten‑free hot sauce. The texture will be slightly different, but the peppery heat and cheesy coating remain unchanged.
Vegan Variation
Use plant‑based hot sauce, vegan cheese, and a dairy‑free butter substitute. The coating will still be crispy and flavorful, making this a crowd‑pleaser for vegan guests.
Spicy Garlic Twist
Add minced garlic to the hot sauce and sprinkle garlic powder into the breadcrumb mix. The garlic adds depth and a savory undertone that complements the pepper’s heat.
Storing and Bringing It Back to Life
Fridge Storage
Store leftover wings in an airtight container in the refrigerator for up to 3 days. Reheat in a 350°F oven for 10 minutes to restore crispness. Avoid the microwave, which will make the coating soggy.
Freezer Friendly
Place cooled wings on a parchment‑lined tray, freeze until solid, then transfer to a freezer bag. They’ll stay fresh for up to 2 months. Reheat in the oven at 350°F for 15 minutes, or until hot and crisp.
Best Reheating Method
Add a tiny splash of water to the bottom of the baking sheet before reheating. This creates steam that helps the coating regain its crunch while preventing the wings from drying out. The wings should be heated to 165°F before serving.