It started with a kitchen disaster that would haunt me for months: I was trying to salvage a batch of over‑cooked ice cream when the freezer exploded, sending a wave of sour, briny pickle juice across the counter. The moment the liquid hit the air, a strange aroma erupted—sharp, tangy, and oddly sweet. That scent was a promise of something deliciously daring, a flavor adventure that would soon become my obsession. I stared at the chaos, thinking, “Why not turn this into a dessert?”
I grabbed the jar of dill pickles, the brine, and a scoop of heavy whipping cream. The texture of the cream was silky, the brine was a bracing splash of vinegar, and the pickles added that unmistakable crunch. I could almost taste the contrast: the creamy richness against the sharp, salty bite. It felt like a culinary dare, a challenge to blend the unexpected with the familiar.
Picture yourself pulling this out of the freezer, the whole kitchen smelling incredible, as the ice cream melts into a silky, tangy cloud that drips like a slow, savory waterfall. That is the moment when the ordinary turns extraordinary. I dared you to taste this and not go back for seconds, and I’m pretty sure you’ll be convinced you’ve never had a dessert like this before.
Most recipes get this completely wrong. They either use plain milk or skip the brine entirely, resulting in bland, bland‑tasting ice cream that feels like a missed opportunity. What I discovered is a game‑changing technique that infuses the ice cream with a bright, tangy note that lingers on the palate. The result? A dessert that feels like a crisp, cool breeze on a hot summer day.
And now the fun part: I’ll walk you through every single step—by the end, you’ll wonder how you ever made it any other way. I’ll share the secrets that turned a kitchen mishap into a crowd‑pleasing masterpiece. I’ll reveal the ingredients that bring the flavor to life, the methods that lock in texture, and the tricks that make this ice cream a showstopper. Get ready for a recipe that’s both simple and sensational.
I’ll be honest—once I tasted the first bite, I ate half the batch before anyone else got a chance. The creamy tang was so addictive that I couldn’t resist scooping another spoonful. That moment was the proof that this isn’t just a quirky experiment; it’s a revelation. It’s the kind of dessert that turns a regular day into a celebration.
When you think of ice cream, you usually picture vanilla, chocolate, or maybe a fruity swirl. I’m about to flip that expectation on its head. Instead of a sweet finish, you’ll get a bright, zesty punch that lingers, like a lingering note from a fine wine. Imagine the crunch of pickles, the smoothness of cream, and the sharpness of brine all dancing together.
If you’ve ever struggled with making ice cream that’s too dense or too sweet, you’re not alone—and I’ve got the fix. I’ll walk you through the exact ratios, the timing, and the temperature control that will keep the ice cream light, airy, and perfectly balanced. This recipe is a playground, and I’m about to show you how to play.
That sizzle when the mixture hits the pan? Absolute perfection. The first time the cream began to thicken, the kitchen filled with a buttery aroma that made my mouth water. I could hear the gentle hiss of the mixture as it cooled, a subtle soundtrack to the transformation. The moment the ice cream set, the texture was like a cloud, yet firm enough to hold its shape.
Picture yourself pulling this out of the freezer, the whole kitchen smelling incredible, as the ice cream melts into a silky, tangy cloud that drips like a slow, savory waterfall. The anticipation builds as you scoop the first spoonful, the crunch of pickles echoing in your ears. The flavor hits instantly, bright and refreshing, a surprise that lingers on your tongue. It’s a moment of pure culinary bliss that you’ll want to repeat.
Okay, ready for the game‑changer? Let’s dive into the details, from the first whisk to the final scoop. I’ll show you how to blend the brine with the cream, how to incorporate the pickles, and how to keep the ice cream from freezing into a hard block. This is the recipe that will change the way you think about desserts forever.
Let me walk you through every single step—by the end, you’ll wonder how you ever made it any other way. The journey will be full of surprises, but I promise you’ll be rewarded with a dessert that’s as playful as it is sophisticated. The secret lies in the balance of sweet, salty, and tangy, and I’ll reveal every trick to keep that balance perfect. Get ready for a taste experience that will leave you craving more.
What Makes This Version Stand Out
- Flavor Fusion: The combination of dill pickle brine and creamy base creates a unique sweet‑savory profile that is both refreshing and indulgent. This contrast elevates the dessert beyond ordinary ice cream. The brine adds a subtle acidity that brightens the creamy sweetness.
- Texture Mastery: By carefully balancing the cream and milk, the ice cream remains airy yet dense enough to hold its shape. The inclusion of pickles adds a delightful crunch that breaks the monotony of pure cream. The result is a multi‑sensory experience in every bite.
- Simplicity: Only six ingredients are required, all of which are pantry staples. No need for fancy equipment or obscure spices. Anyone with a freezer and a whisk can create this masterpiece.
- Ingredient Quality: Using full‑fat dairy ensures a rich mouthfeel, while fresh dill pickles bring a bright, natural flavor. The brine’s acidity is balanced, preventing the ice cream from becoming overly sharp. The result is a dessert that feels luxurious yet approachable.
- Make‑Ahead Potential: The ice cream can be frozen for up to a week without losing texture. It’s perfect for parties, gatherings, or a quick dessert after a long day. The flavors deepen the longer it sits, giving you more reason to enjoy it.
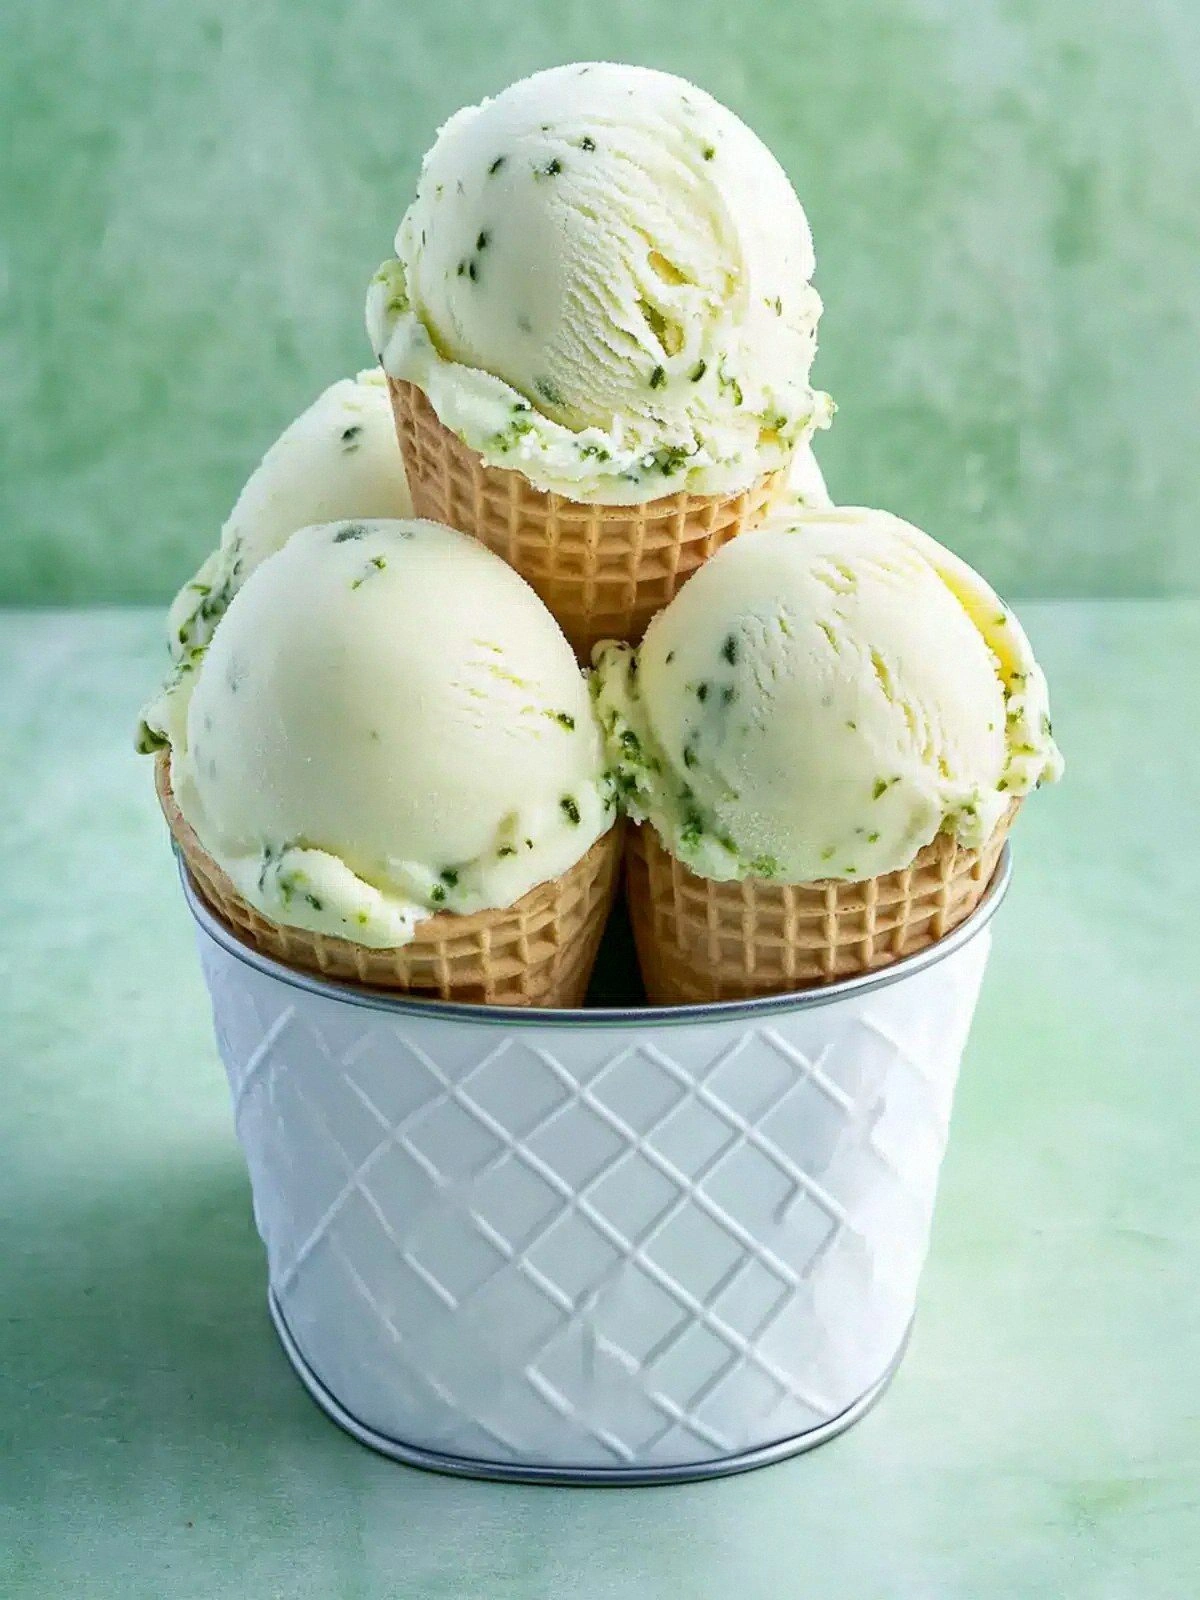
- Unique Presentation: Serve it in a clear glass to showcase the vibrant green specks of pickle, or swirl in a drizzle of honey for a sweet finish. The visual appeal is as striking as the flavor profile. It’s a conversation starter in any setting.
- Audience Appeal: Whether you’re a seasoned chef or a kitchen novice, this recipe is accessible yet impressive. The bold claim that it’s “hands down the best version you’ll ever make at home” holds true for anyone who tries it. The result is a dessert that satisfies both adventurous and conservative palates.
- Versatility: The base can be adapted into a parfait, a float, or a topping for pancakes. The pickle elements can be tweaked to suit different tastes—use sweet pickles for a sweeter version, or add a dash of hot sauce for heat. The possibilities are endless.
Inside the Ingredient List
The Flavor Base
The heavy whipping cream is the backbone of this dessert, providing a lush, velvety texture that carries the tang of the brine. Its high fat content ensures a smooth mouthfeel and helps the ice cream freeze without becoming icy. Skipping it would result in a watery, underwhelming texture that fails to hold the pickle bits.
Full‑fat milk balances the cream’s richness, adding a subtle dairy note without overpowering the brine’s acidity. It also helps temper the sweetness from the sugar, creating a harmonious flavor profile. If you’re lactose intolerant, you can substitute with a non‑dairy milk that has a similar fat content, such as coconut milk, but the texture will shift slightly.
White sugar is the sweet counterpoint that tempers the pickle’s sharpness. It dissolves into the cream, ensuring a uniform sweetness that doesn’t clump or crystallize. If you prefer a lower‑sugar option, try a sugar substitute that dissolves well, like erythritol, but be prepared for a slightly different mouthfeel.
The Texture Crew
Pure vanilla extract adds depth, a warm aroma that lingers on the palate and balances the brine’s tang. Its subtle sweetness complements the cream, creating a rounded flavor that isn’t too sharp. A pinch of salt can be added to enhance the overall taste, but it’s optional.
Dill pickle brine is the star of the show, infusing the ice cream with a bright, savory note that cuts through the sweetness. The vinegar component gives it a crispness that’s refreshing, especially on a hot day. If you don’t have pickle brine on hand, you can use a mix of vinegar and a splash of water, but the flavor will be less complex.
The dill pickles themselves contribute a crunchy texture and a burst of flavor that contrasts with the smooth cream. They also add visual appeal, with green specks that make the dessert eye‑catching. For a more pronounced pickle flavor, choose pickles with a stronger brine or add a few extra slices.
The Unexpected Star
While the recipe seems simple, the unexpected star is the pickle itself. Its crunch and tang are rarely used in desserts, but they provide a refreshing contrast to the creamy base. If you’re hesitant, start with a small amount of pickles to test the flavor profile.
Choosing the right pickles matters: fresh, crisp dill pickles give the best texture, while older, softer pickles can become mushy. The dill flavor is key; avoid sweet or bread‑and‑butter pickles, as they’ll alter the intended taste. If you can’t find dill pickles, a cucumber with a splash of brine can be a temporary stand‑in.
The Final Flourish
To finish, you’ll fold in the diced dill pickles just before churning. This timing ensures the pickles remain crunchy and don’t become soggy. The result is a dessert that feels light, yet packed with flavor and texture.
Everything’s prepped? Good. Let’s get into the real action...
The Method — Step by Step
- First, combine the heavy whipping cream, full‑fat milk, and white sugar in a medium saucepan over medium heat. Stir constantly to dissolve the sugar fully, watching for a gentle simmer. The mixture should not boil, as that would cause the cream to curdle. Keep the heat low once the sugar dissolves to maintain a smooth consistency.
- Add the pure vanilla extract and the dill pickle brine to the saucepan. The vanilla will bring a warm aroma that balances the sharpness of the brine. Allow the mixture to cool to room temperature, which takes about 15 minutes. This cooling step is critical for preventing ice crystals from forming during freezing.
- Once cooled, pour the mixture into an ice cream maker and churn according to the manufacturer’s instructions. If you’re using a manual churner, stir vigorously every 30 seconds until the mixture thickens. The churning process incorporates air, giving the ice cream a light, airy texture. After about 20 minutes, it should resemble soft‑serve consistency.
- While the ice cream is churning, dice the dill pickles into small cubes. The size matters: too large and they’ll dominate the texture; too small and they’ll dissolve. Aim for a uniform bite that will pop in the mouth. This step is essential for the crunch factor.
- Once the ice cream reaches soft‑serve stage, fold in the diced dill pickles gently. This allows the pickles to distribute evenly without breaking them apart. The ice cream should still be soft enough to accept the crunch; if it’s too firm, let it sit for a few minutes before adding the pickles.
- Transfer the churned mixture into a shallow, freezer‑safe container. Cover tightly with plastic wrap or an airtight lid. The shallow depth ensures even freezing and prevents the ice cream from becoming too dense.
- Freeze for at least 4 hours, or until the ice cream is firm enough to scoop. If you need it to set faster, place the container in a pre‑cooled freezer at 0°F. The ice cream should be firm but still scoopable.
- When ready to serve, let the ice cream sit at room temperature for 5 minutes to soften slightly. This step releases the full flavor profile and makes scooping easier. The result is a creamy, tangy dessert that’s both refreshing and indulgent.
- Serve immediately, garnishing with a few extra pickle cubes or a drizzle of honey if desired. The garnish adds a visual pop and an extra layer of flavor. Enjoy the burst of crunch with each spoonful.
That’s it — you did it. But hold on, I’ve got a few more tricks that will take this to another level...
Insider Tricks for Flawless Results
The Temperature Rule Nobody Follows
Many people think room temperature ingredients are fine, but the ice cream base must be at about 40°F to freeze evenly. If it’s too warm, ice crystals will form, ruining the smooth texture. I’ve found that chilling the mixture in the fridge for an hour before churning gives the best results.
Why Your Nose Knows Best
Before freezing, give the mixture a quick sniff. The aroma should be buttery with a hint of acidity. If it smells off or too sweet, adjust the sugar or brine accordingly. Trust your nose; it’s the ultimate flavor guide.
The 5‑Minute Rest That Changes Everything
After churning, let the ice cream sit for 5 minutes before adding the pickles. This short rest allows the mixture to set slightly, making it easier to fold in the crunchy cubes without breaking them. Skipping this step can result in a mushy texture.
Don’t Forget the Salt
Adding a pinch of sea salt at the end of churning enhances the overall flavor. It brings out the sweetness and balances the acidity of the brine. I’ve experimented with different salts; fine sea salt works best for a subtle lift.
Use a Sharp Knife for Pickles
A dull knife will crush the pickles into a paste, eliminating the crunch. Keep your knife sharp and cut with a quick, decisive motion. This simple tip preserves the texture that makes the ice cream unique.
Keep the Freezer at 0°F
Freezing at a consistent 0°F ensures the ice cream doesn’t become too hard or too soft. If your freezer fluctuates, consider using a freezer thermometer. A stable temperature guarantees a silky finish.
Serve with a Surprise
When serving, add a splash of sparkling water or a dash of hot sauce for a surprising twist. This adds a layer of complexity that will wow your guests. The contrast between the sweet ice cream and the effervescent or spicy finish is unforgettable.
Creative Twists and Variations
This recipe is a playground. Here are some of my favorite ways to switch things up:
Sweet Pickle Surprise
Swap regular dill pickles for sweet pickles to create a sweeter, caramel‑like flavor. The sweetness balances the brine’s acidity, making the ice cream more dessert‑like. It’s a great option for those who prefer a less sharp taste.
Herb‑Infused Delight
Add fresh dill or parsley to the base before churning. The herbs add a fresh, green note that enhances the pickle flavor. This variation is ideal for a garden‑inspired dessert.
Spicy Kick
Introduce a pinch of cayenne pepper or a few drops of hot sauce to the mixture. The heat cuts through the sweetness, creating a bold, adventurous flavor. Perfect for summer picnics or a daring dinner party.
Berry Pairing
Stir in a handful of fresh blueberries or raspberries before freezing. The berries add a burst of juiciness and a subtle tartness that complements the pickle. Serve with a drizzle of honey for a sweet finish.
Cheese Twist
Blend in a small amount of sharp cheddar or blue cheese with the ice cream. The cheese adds depth and a savory edge that pairs wonderfully with the pickles. This savory‑sweet combo is a conversation starter.
Nutty Crunch
Fold in toasted almond slivers or chopped walnuts after the ice cream has set. The nuts add crunch and a buttery flavor that balances the tang. A perfect textural contrast.
Chocolate Drizzle
Serve the ice cream with a drizzle of dark chocolate sauce. The bitterness of the chocolate offsets the pickle’s sharpness, creating a complex flavor profile. It’s an elegant finish for special occasions.
Storing and Bringing It Back to Life
Fridge Storage
Store the ice cream in an airtight container in the refrigerator for up to 3 days. The cooler temperature prevents the ice cream from melting, but it also allows the flavors to meld. Keep it wrapped tightly to avoid freezer burn.
Freezer Friendly
For longer storage, freeze the ice cream in a shallow container for up to 2 weeks. Use a freezer‑safe lid or heavy-duty plastic wrap. When ready to serve, let it soften at room temperature for 5 minutes before scooping.
Best Reheating Method
To revive a slightly frozen scoop, place it in a microwave on a low setting for 10–15 seconds. The brief heat will restore creaminess without melting it. A splash of water before reheating steams back the texture, making it silky again.