I was halfway through a backyard barbecue when the ground beef slipped off the grill, sending a sizzling splash across the patio. The heat burst, the aroma of seared meat filled the air, and for a split second I felt like a culinary disaster waiting to happen. I glanced at my friends, all eyes on the grill, and realized that the moment could be turned into something legendary. That was the spark that lit the fire for this recipe: a humble cheeseburger, but with a Hawaiian twist that turns ordinary into unforgettable.
The kitchen was a sensory orchestra—crackling grill, the sweet scent of toasted rolls, the sharp tang of dill pickles, and the faint musk of melted cheese. As the meat hit the pan, the sizzle sang like a jazz solo, and the heat kissed my fingertips. I could taste the caramelized edges before even taking a bite. The texture was a harmonious blend of crispy crust, juicy center, and the soft, buttery roll that cradled everything like a warm hug. Each element sang in perfect unison, making the whole experience more than just a meal—it was a moment of pure culinary bliss.
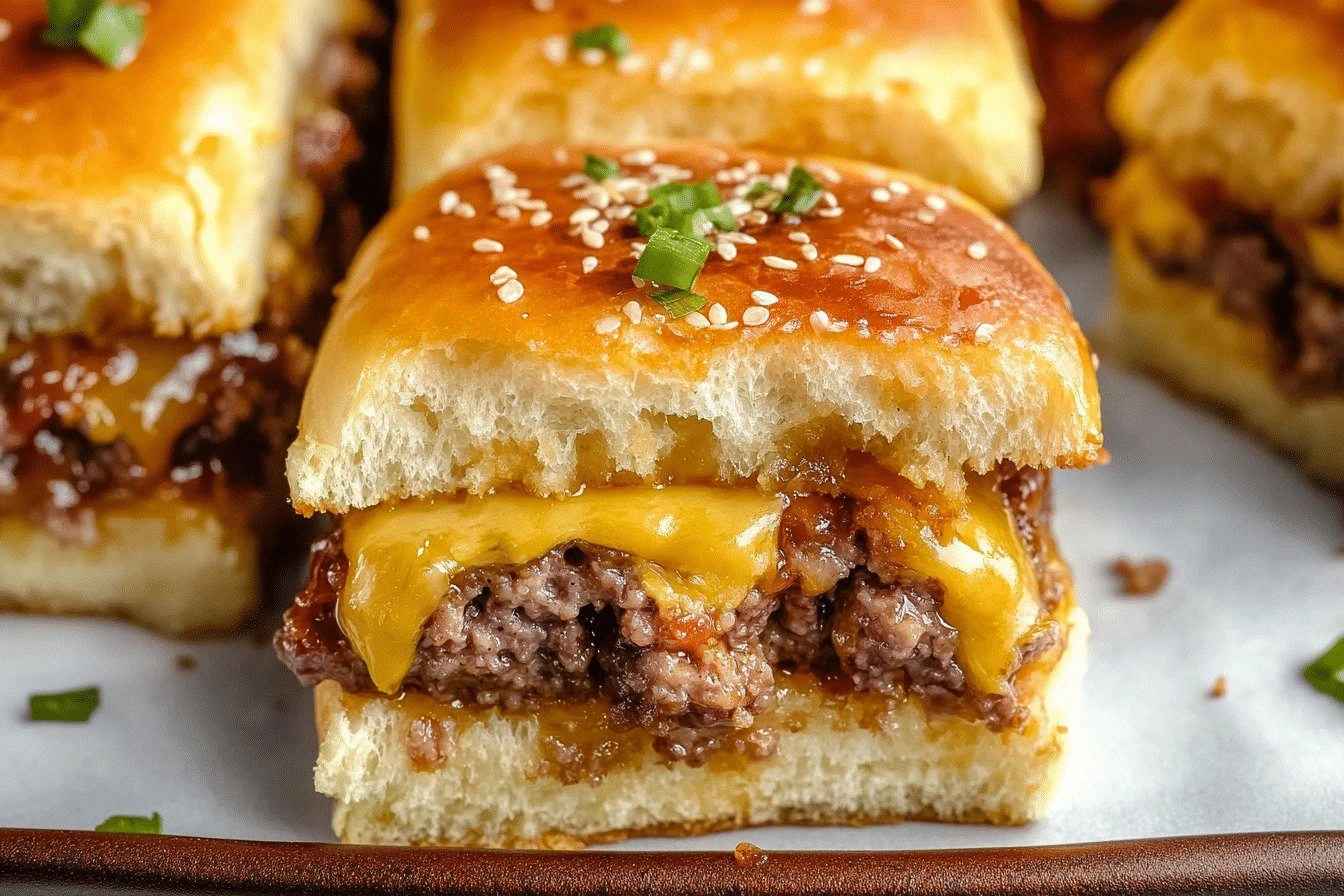
What sets this version apart is the deliberate layering of flavors and textures that most recipes overlook. The Hawaiian roll isn’t just a vessel; it’s a sweet, slightly chewy counterpoint to the savory beef. Buttered tops create a golden crust that locks in moisture, while dill pickles add a bright, citrusy bite that cuts through the richness. The simple seasoning—onion powder, garlic powder, salt, and pepper—acts as a flavor amplifier, not a mask. It’s the kind of burger that makes you pause mid-bite and think, “This is hands down the best version you’ll ever make at home.”
And here’s the secret I didn’t expect to find: a quick butter‑basted roll technique that turns a plain slider into a caramelized masterpiece. I dare you to taste this and not go back for seconds. If you’ve ever struggled with burgers that dry out or rolls that stay soggy, you’re not alone—and I’ve got the fix. Picture yourself pulling this out of the oven, the whole kitchen smelling incredible, and the first bite—crispy edges that shatter like thin ice, a juicy center that practically melts, and a sweet, buttery roll that’s the perfect balance. Let me walk you through every single step — by the end, you’ll wonder how you ever made it any other way.
What Makes This Version Stand Out
- Juiciness: The 80/20 ground beef locks in moisture, ensuring each bite is succulent. The buttered roll crust seals in steam, preventing dryness.
- Sweet‑Savory Harmony: Hawaiian rolls provide a subtle sweetness that pairs beautifully with the salty beef and tangy pickles.
- Texture Contrast: Crispy, golden roll tops meet a soft, melty cheese interior, delivering a satisfying mouthfeel.
- Simple Seasoning: Onion and garlic powder elevate the beef without overwhelming, making the dish approachable yet flavorful.
- Make‑Ahead Friendly: Assemble the sliders in advance; they bake fresh when needed, saving you time on busy nights.
- Crowd‑Pleaser: The familiar flavors of ketchup and mustard combined with a tropical twist keep guests coming back.
- Ingredient Quality: Using high‑fat ground beef and fresh pickles ensures each slider is a taste explosion.
- Visual Appeal: The buttery, golden tops look as good as they taste, making the dish Instagram‑ready.
Inside the Ingredient List
The Flavor Base
Ground beef is the heart of this slider. Choosing an 80/20 blend gives the patties a juicy, rich flavor that stands up to the sweet roll and tangy pickles. If you skip the beef, you’ll lose the savory backbone that holds everything together. For a leaner option, a 90/10 mix works, but the sliders will be less moist and slightly less indulgent.
The Texture Crew
Hawaiian rolls bring a soft, slightly sweet chew that contrasts with the crunchy dill pickles. Butter is the secret weapon that creates a crisp, caramelized top while keeping the interior tender. Cheese slices—whether American, cheddar, or your favorite melty cheese—melt into a gooey blanket that ties the flavors together. A small pinch of salt and pepper lifts the beef’s natural taste without masking it.
The Unexpected Star
Dill pickle slices might seem like an odd choice for a cheeseburger, but their sharp, vinegary bite cuts through the richness of the meat and cheese. They add a layer of complexity that most sliders lack. If you’re not a fan of pickles, you can replace them with sliced jalapeños or even a smear of pesto for a different kick.
The Final Flourish
Ketchup and mustard are the classic condiments that bring familiarity to the dish. Their sweet and tangy profiles complement the sweet roll and savory beef. Onion and garlic powder are the subtle depth enhancers; they give the meat an aromatic backdrop that elevates the overall taste. If you prefer a spicier version, a dash of hot sauce or a sprinkle of crushed red pepper will do the trick.
Everything's prepped? Good. Let's get into the real action...
The Method — Step by Step
- First, preheat your oven to 375°F (190°C). While the oven heats, shape the ground beef into four equal patties, about 1 ½ inches thick. Press a shallow indentation in the center of each patty with your thumb; this prevents the burgers from puffing up during cooking. Season both sides with salt, pepper, onion powder, and garlic powder. Let them rest at room temperature for 10 minutes; this allows the seasoning to penetrate.
- Heat a large skillet over medium-high heat and add a tablespoon of oil. Once hot, add the patties and sear for 2–3 minutes on each side, until a golden crust forms. The sizzle is the soundtrack of success—listen to it. Flip only once to keep the juices inside. This step locks in flavor and creates that coveted caramelized exterior.
- While the patties sear, prepare the rolls. Slice each Hawaiian roll in half, and lightly butter the cut sides with a pat of softened butter. Place the buttered sides on a baking sheet, butter side up, and toast in the oven for 2–3 minutes until they’re golden and fragrant. The butter melts into the crumb, creating a buttery, slightly crisp top.
- Return the skillet to the stove and reduce the heat to medium. Place a slice of cheese on top of each patty and cover the skillet with a lid. Let the cheese melt for 1–2 minutes, watching the gooey melt as it drips onto the meat. The cheese is the glue that ties all flavors together.
- This is the moment of truth: transfer the patties onto a baking sheet and pop them back into the oven for 5 minutes. The heat finishes the cooking and ensures the cheese is perfectly melty. Watch closely—if you open the oven too early, the cheese will be underdone. Keep the oven door closed to maintain consistent temperature.
- While the burgers finish, arrange the dill pickle slices on a cutting board. Slice them thinly so they’ll fit comfortably on the rolls. The pickles add a bright, acidic counterpoint that lifts the overall flavor profile.
- Now assemble! Place a patty on the toasted roll bottom, add a generous spread of ketchup and a squirt of mustard. Layer a few pickle slices, then top with the roll’s upper half. The result is a perfectly balanced, bite‑sized masterpiece.
- Serve immediately with a side of sweet potato fries or a crisp green salad. The sliders are best enjoyed hot, when the cheese is still gooey and the rolls are freshly toasted. Enjoy the symphony of flavors that dance across your palate.
That’s it — you did it. But hold on, I've got a few more tricks that'll take this to another level...
Insider Tricks for Flawless Results
The Temperature Rule Nobody Follows
Many people cook burgers on high heat and then lower the flame, but this can cause uneven cooking. Instead, keep a steady medium‑high heat until the patty is seared, then reduce to medium for the remainder. This ensures a crisp crust without burning the outside while keeping the inside juicy.
Why Your Nose Knows Best
Before you take a bite, pause and inhale. The aroma of buttered rolls and melted cheese can tell you if the burgers are cooked to perfection. If the smell is sweet and buttery, you’re on the right track. If it smells overly smoky, the heat was too high.
The 5-Minute Rest That Changes Everything
After removing the burgers from the oven, let them rest for five minutes. This allows the juices to redistribute, preventing them from spilling onto the plate when you bite. The rest also lets the cheese set slightly, making each bite less messy.
Butter the Rolls, Not the Meat
Some chefs spread butter on the meat, but this can cause the patty to become greasy. Butter the roll instead; it creates a crisp, caramelized surface that enhances the overall texture without compromising the beef’s flavor.
Use a Meat Thermometer for Precision
While seasoned chefs may rely on touch, a thermometer gives you peace of mind. Aim for 160°F (71°C) to ensure safety and tenderness. A quick glance can save you from undercooked or overcooked sliders.
Serve Immediately for Peak Enjoyment
These sliders are best enjoyed hot and fresh. If you must hold them for a while, cover them loosely with foil to keep warmth without steaming the rolls. The texture will remain crisp, and the flavors will stay vibrant.
Creative Twists and Variations
This recipe is a playground. Here are some of my favorite ways to switch things up:
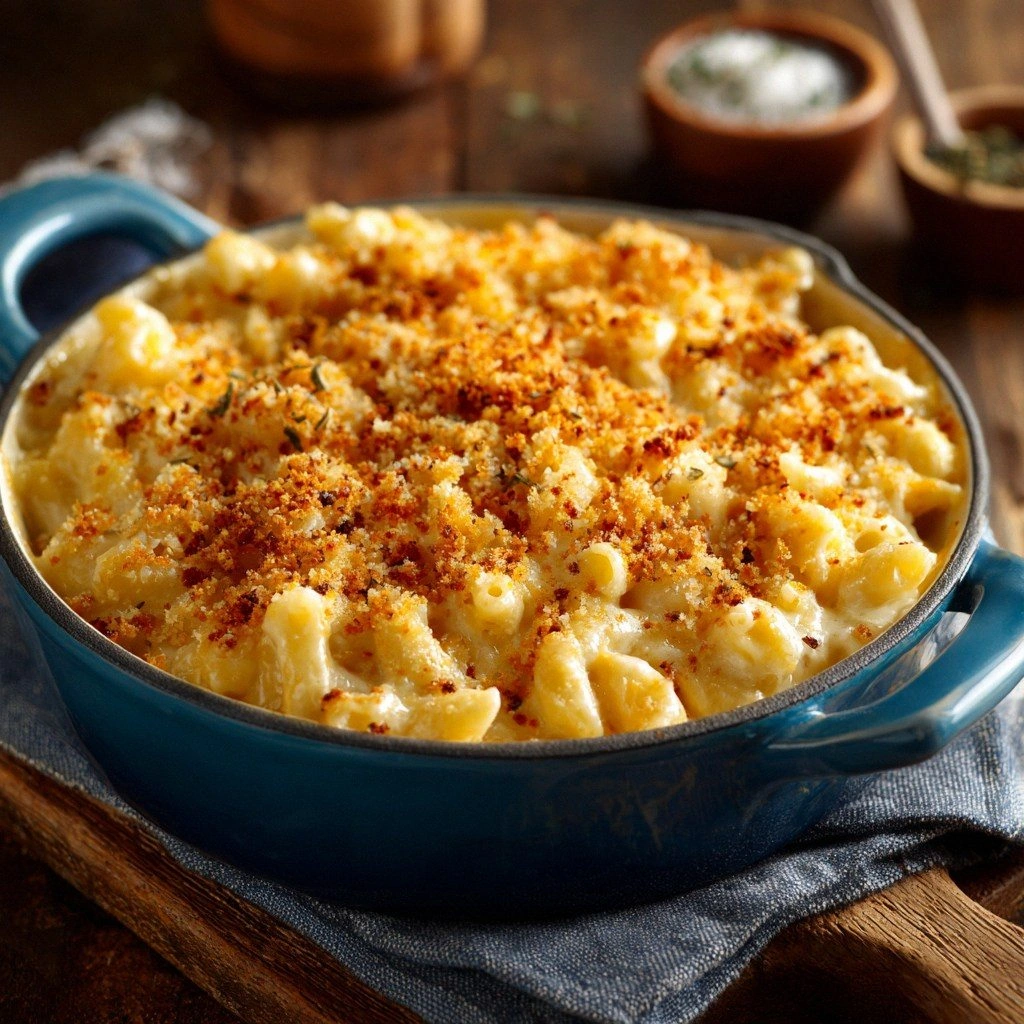
Maui Mac & Cheese Slider
Swap the cheese slice for a spoonful of creamy mac and cheese. The creamy texture complements the sweet roll, while the cheddar base adds richness. Perfect for a brunch twist.
Spicy Pineapple & Jalapeño
Add a slice of grilled pineapple and a few jalapeño rings to the patty before baking. The tropical sweetness and heat create a bold flavor profile that will wow adventurous diners.
BBQ Bacon Slider
Wrap the patty with a strip of crispy bacon and drizzle with smoky BBQ sauce. The bacon’s saltiness balances the sweet roll, while the BBQ adds depth and a hint of caramel.
Mediterranean Twist
Replace dill pickles with roasted red peppers and drizzle a little tzatziki on top. The cool, creamy sauce and peppery bite give the sliders a Mediterranean flair.
Vegan Version
Use a plant‑based ground beef alternative and dairy‑free cheese. Toast the rolls with a light coating of olive oil. The flavors remain, but with a kinder twist.
Breakfast Slider
Serve the sliders with a fried egg on top and a splash of hot sauce. The eggs add protein and a breakfast vibe, making it a hearty start to any day.
Storing and Bringing It Back to Life
Fridge Storage
Store assembled sliders in an airtight container for up to 2 days. Keep the rolls separate until ready to serve to prevent them from becoming soggy. Reheat in a toaster oven at 350°F for 5 minutes to revive the crispness.
Freezer Friendly
Wrap each slider individually in parchment paper and place them in a freezer bag. They stay fresh for up to 3 months. When ready, thaw in the fridge overnight and reheat in the oven as described above.
Best Reheating Method
Reheat the sliders in a preheated oven at 350°F for 8–10 minutes. Add a splash of water to the bottom of the pan to create steam, which keeps the rolls from drying out. The result is a warm, juicy slider that tastes almost brand new.